Home
How To Manually Add Scenery P3D The Right Way . I've come up with a way to install orbx product into p3d v4 without installing them into the main p3d folder or altering any of the default files. Repeat steps 4 to 7 for all states that you wish to add.
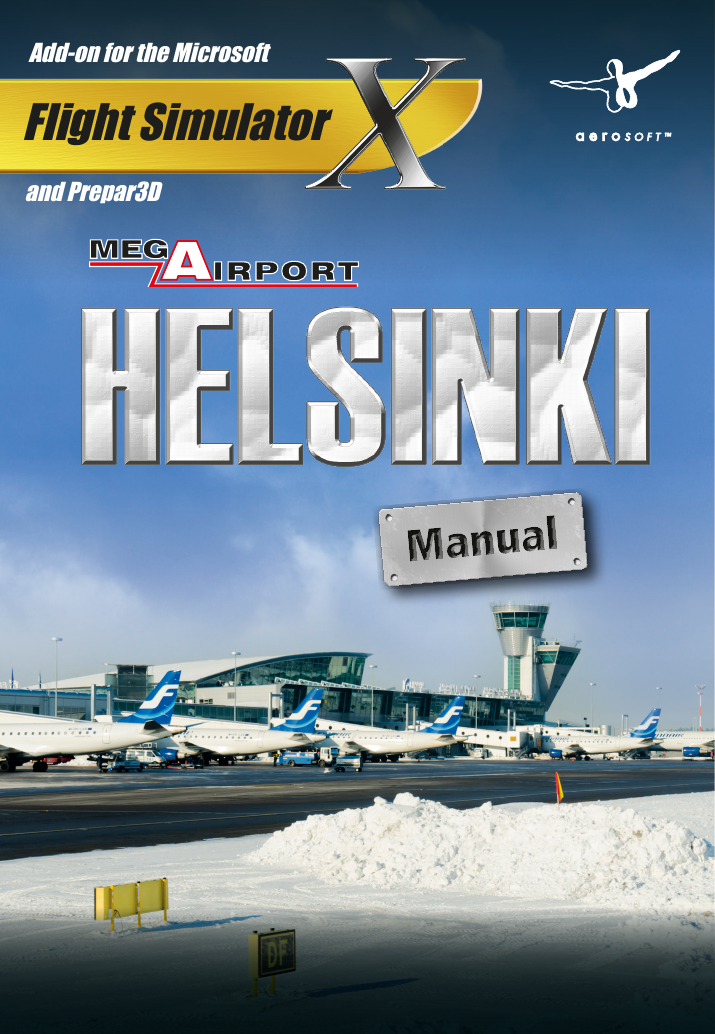
Sim Wings Mega Airport Helsinki Flight Simulator X Prepar3d Mega Airport Helsinki 2 User Guide Manualzz from s3.manualzz.com Navigate to the addon scenery folder. For those i suggest layer 127, that puts it right above the default scenery. Wow, lot of work just to add some scenery. In the scenery area name text box, type the name as you want it to appear in the scenery area list. Select cache this scenery or use this scenery directly.
In the scenery library click add area. Install scenery configuration editor, which now should be able to read the scenery.cfg as installed per default with p3d. A geopack manual installation option was selected you wish to make manual changes to scenery area properties such as the layer Select the folder of the new scenery to be added, and press ok. Then on the scenery library page on the right click on add area. In the select scenery directory, select the folder containing the new scenery. Ensure you select use this scenery.
Source: othh-fsx-scenery.shottyds290.pw For those i suggest layer 127, that puts it right above the default scenery. A geopack manual installation option was selected you wish to make manual changes to scenery area properties such as the layer In the scenery area name text box, type the name as you want it to appear in the scenery area list.
Install scenery configuration editor, which now should be able to read the scenery.cfg as installed per default with p3d. It should only be necessary to use these tools if: While the client module is the core of prepar3d, the content module contains content such as aircraft, instruments, weather, effects and much more.
Source: www.avsim.com After starting p3d, at the bottom of the page that appears, click on scenery. Wow, lot of work just to add some scenery. In the scenery area name text box, type the name as you want it to appear in the scenery area list.
While the client module is the core of prepar3d, the content module contains content such as aircraft, instruments, weather, effects and much more. Ensure you select use this scenery. A geopack manual installation option was selected you wish to make manual changes to scenery area properties such as the layer
Source: i.ytimg.com That means it not only handles scenery, but every type of addon. Navigate to the addon scenery folder. Open up the scenery library in the fsx settings, and click on add area.
On the add scenery area window that appears check in directory if the path of your p3d is correct and that there is a check mark on use this scenery. On the add scenery area window that appears check in directory if the path of your p3d is correct and that there is a check mark on use this scenery. In the scenery area name text box, type the name as you want it to appear in the scenery area list.
Source: forum.aerosoft.com Install scenery configuration editor, which now should be able to read the scenery.cfg as installed per default with p3d. While the client module is the core of prepar3d, the content module contains content such as aircraft, instruments, weather, effects and much more. However you should refer to the sections on adding addons in.
In the select scenery directory, select the folder containing the new scenery. A geopack manual installation option was selected you wish to make manual changes to scenery area properties such as the layer There are several threads going on about people trying to copy over existing add on airports to p3d v4 with success.
Source: i.ytimg.com But there seems to be a fair amount of confusion on a few others, including me on how to properly do this. After starting p3d, at the bottom of the page that appears, click on scenery. Currently i am manually adding the scenery from p3d v4's world > scenery library manual and that for the most part has worked.
Villavicencio is a municipality in the capital of the meta department and the most important shopping center of the eastern llanos.4 it is located on the foothills of the cordillera oriental, northwest of the department of meta, on the right bank of the guatiquía river. A geopack manual installation option was selected you wish to make manual changes to scenery area properties such as the layer The next screen will look like the next image with delaware added to your scenery library.
Source: nuk.512x512kahaniya.fun Villavicencio is a municipality in the capital of the meta department and the most important shopping center of the eastern llanos.4 it is located on the foothills of the cordillera oriental, northwest of the department of meta, on the right bank of the guatiquía river. Select cache this scenery or use this scenery directly. There are several threads going on about people trying to copy over existing add on airports to p3d v4 with success.
Open up the scenery library in the fsx settings, and click on add area. Currently i am manually adding the scenery from p3d v4's world > scenery library manual and that for the most part has worked. Elements of the main window explained:
Source: kqp.c13h28lensed.pw As i am just a v4 beginner , why would i use the xml way if i can add it in the scenery.cfg file with just a few mouseclicks ? That means it not only handles scenery, but every type of addon. Currently in p3dv3 i have all my taxi2gate and latinvfr scenery installed outside the main p3d folder and linked back via the scenery.cfg file.
The next screen will look like the next image with delaware added to your scenery library. While the client module is the core of prepar3d, the content module contains content such as aircraft, instruments, weather, effects and much more. In the scenery library click add area.
Thank you for reading about How To Manually Add Scenery P3D The Right Way , I hope this article is useful. For more useful information visit https://greatnesia.com/